Time to start building this tack trunk!
Enough of the designing and tinkering in Sketch-Up. It’s time to get building this tack trunk if I’m going to have it done by sometime around Chelsea’s birthday! Lets get started with the carcase.
Where to find quality materials?
The carcase is made from 3/4″ oak plywood. I had a real hard time trying to find some good quality plywood to use. The stuff you can get at the local home goods stores is really cheap with voids and very thin veneer.
I tried visiting one of the local cabinet shops in the area to see where they purchase cabinet grade plywood around here and the answer is they don’t. They end up ordering it from a supplier and even then the quality isn’t what it used to be. I did find some oak plywood at a local Home Depot that was fairly good, but I ended up digging through a pile of 15 sheets (by myself) before finding two that were acceptable to me.
Let’s begin by creating the carcase
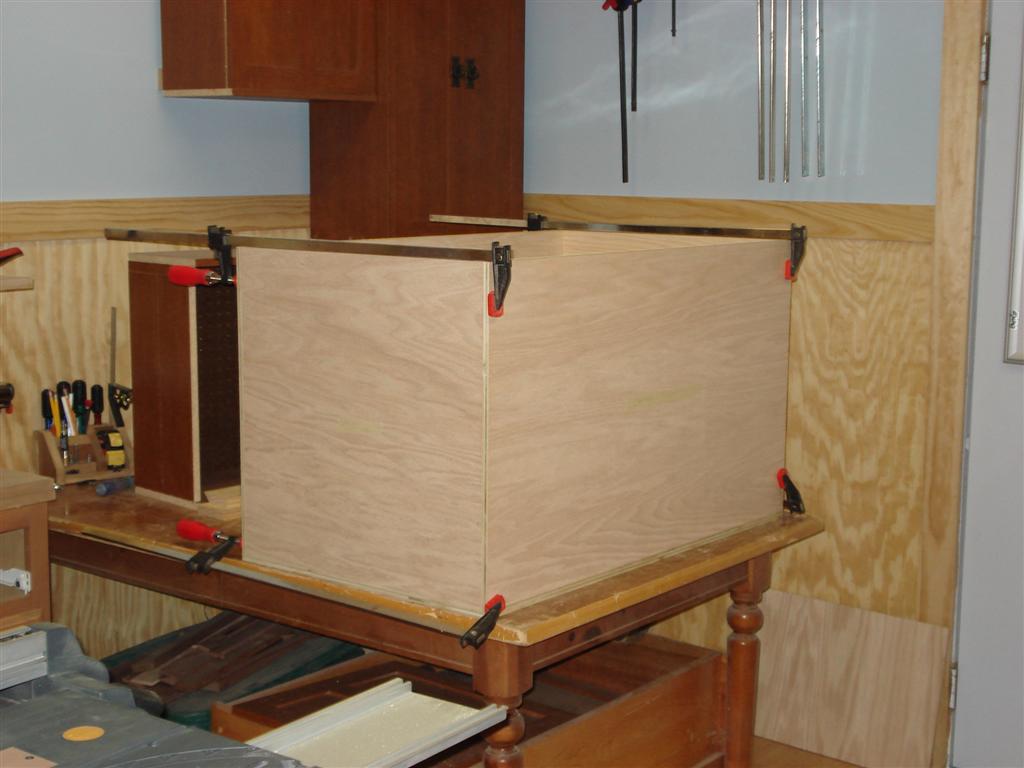
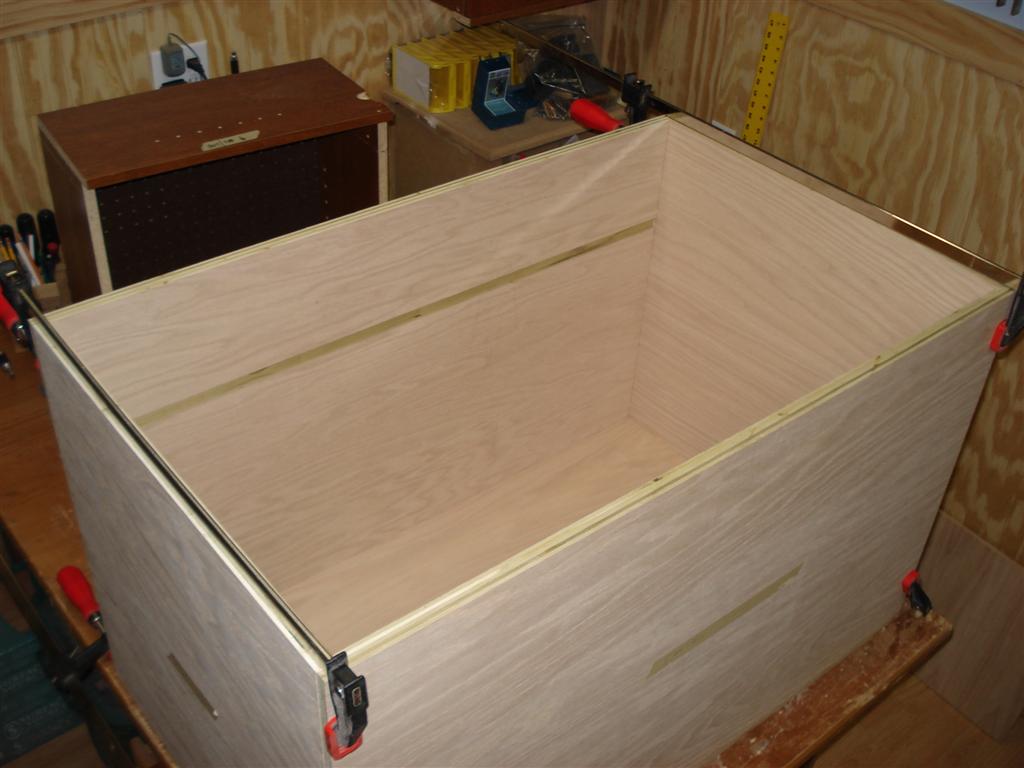
By the end of my time in the workshop yesterday I had rough cut the pieces for the carcase from one of the 4×8 sheets of plywood into manageable sizes and ripped them to the correct widths. Today after work I cut the individual pieces of the carcase to their complete dimensions, and using the tablesaw cut the rabbits in the bottom, front, and back pieces. I also cut the dado for the sliding tray support.
I still have the stopped dado to cut in the front and back pieces for the shelf support and also the stopped dado for the dividing panel in the carcase then it will be ready for glue up.
Want to build one for someone special?
Did I mention that I am also creating a set of plans for the tack trunk? I will have them available for a nominal fee after I complete the build.
Update 07/25/2010: The plans are now available in the download store.
Looks really great dad!
It’s a lot bigger than I expected … I hope not too big.
Good thing I’m putting caster’s on it because I think it’s going to be heavy !