
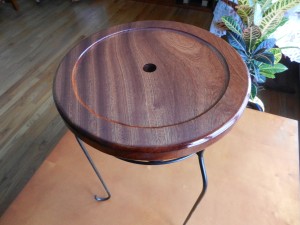
Finished Sundial Stand
This very simple looking sundial stand took quite some time to design and create, mostly because it involved using some techniques that I had not previously tried. I learned a lot about creating curves and the beauty of curves in woodworking.
The project involved creating a few new jigs including a circle cutting jig for my Rikon 14 inch bandsaw, learning to use the circle cutting jig for my router, and the use of a dish carving bit for my router. I needed to create a circle template for the dish carving router bit and used a spiral saw to cut this from 3/4″ MDF.
The sundial base was created using Spanish Cedar. I used this same species of wood to replace some of the teak on my sailboat. Although it’s has a cedar name it’s not part of the cedar family. The wood stands up well to the elements with a few coats of varnish. It’s easy to work with and has a beautiful grain pattern. It’s very weather and rot resistant which makes it a perfect choice for this application. And it’s also significant less in cost than teak.
I used a 1/2″ straight bit and my router circle cutting jig to create a 1/2″ deep circular groove in the bottom of the base so that the base would fit in the metal plant stand that I chose to support the base. I used the dish carving router bit with a template to create the indented area in the top of the base to hold the sundial. I didn’t cut the base to it’s final size until I routered out the top so that I could mount the template to the workpiece.
The base was cut into a circle shape using the bandsaw circle jig, edges where cleaned up with a sanding drum and then a 3/8″ roundover on the top and bottom surfaces of the base edges. I created a fairly large hole in the center of the piece to aid in draining water that is sure to accumulate. A few coats of varnish and the piece was ready to be delivered.
Sundial Stand Base
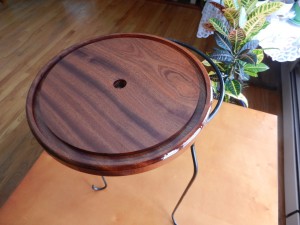
Underside view of the sundial base
Add Comment
You must be logged in to post a comment.