My 27″ TV in the bedroom sits on top of a dresser and there was no room to also place a DVD player on the dresser so I decided to create a short DVD cabinet that was strong enough to support the weight of the TV and where the DVD player could be placed inside this cabinet.
I decide to build the DVD cabinet out of maple because it was available locally. I used maple plywood for the carcase and top and maple stock for the trim. The top is just a 12″x22″ piece of plywood with maple edging that I ripped and mitered from a 1″ x 4″ maple board.
I did not want to use any fasteners to attach the edging to the plywood top and I don’t own a biscuit jointer yet, so I decided to use splines to strengthen the joint between the edging and the plywood top. I cut a slot in the center of the 3 edging pieces and also along the three sides of the plywood top with the table saw. I ripped the splines from some of the scrap maple plywood. I needed to make a new jig to get the narrow splines, but this will come in handy on other projects I’m sure.
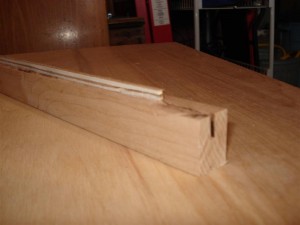
Splines used to attach the edging
I had some trouble gluing up the plywood top and edging so once again I got out the picture frame jig. This helped, but I didn’t get as much pressure to get a really tight fit as I wanted. I need to get more clamps!
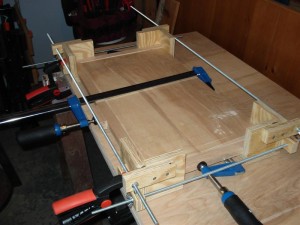
Gluing up the top
The carcase went together very easily using brads and glue first and then strengthening it with #8 screws.
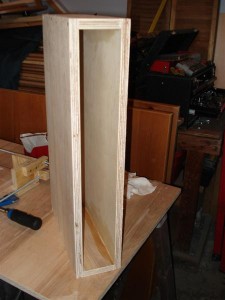
Before the trim is added
This will give you an idea of how the cabinet will look when it’s done. Next step is to create the trim pieces from some 1″ maple stock on the router. Stay tuned.
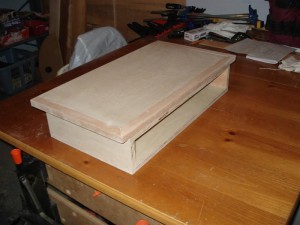
DVD Player without the trim added
I tried some staining techniques on some of the scrap maple, but wasn’t happy at all with the results. The maple just doesn’t take stain well. I wanted to match the dark brown color of the bedroom furniture that the cabinet will be sitting on, but is was almost impossible to get the maple to take any stain. Even with an ebony stain. After some research I found that most woodworkers that want to add a deep color to the maple use a dye stain to color the wood. I couldn’t find any locally, so I ordered a Dark Walnut Trinstant Dye stain from Rockler. I’ll give that a try to add some color to the wood.
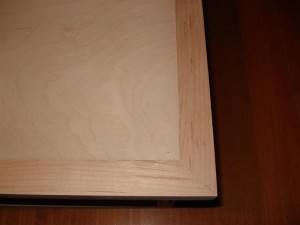
I’ve finished adding the trim work and sanding the piece. It’s ready for staining. Here’s some pictures of the unfinished cabinet.
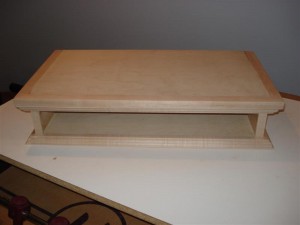
Ready for Staining
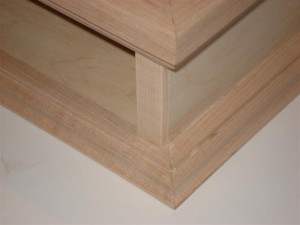
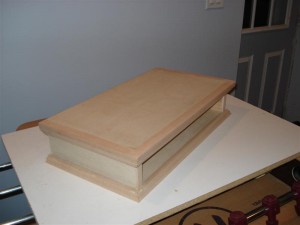
Left side

Hi Chris, You sure do some very beautiful work. So all those visits to great grandpa’s shop left a very lasting impression. Everytime we(Mom and Renee) have lunch with your mom she is bragging about your work. I’m so glad the walnut wood stayed in the family after all those years going from place to place. The bragging is well earned. I can’t wait to see if the maple took the stain you order for the DVD cabinet.
See you at the Reunion in July!
Cousing Hilda