Small TV Stand
I completed the TV stand this week and I’m pretty happy with the results. I still have a little bit of work to to do to get the woodworking plans ready to add to the download shop. I’m targeting to make them available by the end of this month.
If you’re interested you will find below a few details on the build.
Creating the Top and Bottom
The TV Stand is 13″ deep and 22″ wide. To create the top and bottom I edge glued two 1″ x 8″ red oak boards together to create a blank that was slightly larger than the finished piece. I used biscuits to strengthen the joint and let this setup overnight.
After the glue had dried I used a card scraper to remove the excess glue, and then cut the top and bottom pieces to the correct length.
The TV stand has a slight bow shape in the front and back. In order to create this shape repetitively I created a template from a piece of 1/4″ hardboard and using a template bit in the router created the arc for the front and back of the top and bottom. I will be including a full size template pattern in the woodworking plans.
After a quick trip through the planer it was time to drill out the holes for the knock-down fittings that will be used to attach the top and bottom to the side pieces.
Creating the Sides
The sides were cut to size on the table saw and then the holes for the knock-down hardware were drilled. Since a few of the holes were quite long I spent some timing aligning my drill press before starting to drill. I think this was worth doing as everything lined up perfectly when finished.
So at this point I’m sure someone is asking why use know-down hardware to assembly this TV stand? Why not just glue the sides, top and bottom together? Well the reason for this is because I wanted a design that could grow with you. So by making a different set of sides and a shelf you can create a stand that will hold two electronic devices within the cabinet.
Creating the Shelf
The double high version of the TV stand contains a shelf to separate the storage areas. The front and back of the shelf have a bow arc that matches the top and bottom arc. The shelf is just narrower and only 1/2 thick. I used the same template that I created to make the arc in the top and bottom to create the arc in the shelf.
Assembly Check, Edge Softening, and Finishing
Before creating the finishing touches I decided to do an assembly check to verify how the knock-down fittings would work. I was very impressed with the strength and stability of the design. I would have no problem placing a heavy TV on this stand. I think you could probably use this to do step aerobics with (I actually tried it … should have taken a video).
With the knock-down fittings and assembly verified it was time to add the final routering to smooth the edges and add the finish. For this project I chose to use a satin black finish to match the location where the TV stand would be used.
I added some feet to the bottom after the finish was dry to complete the project.
Photos
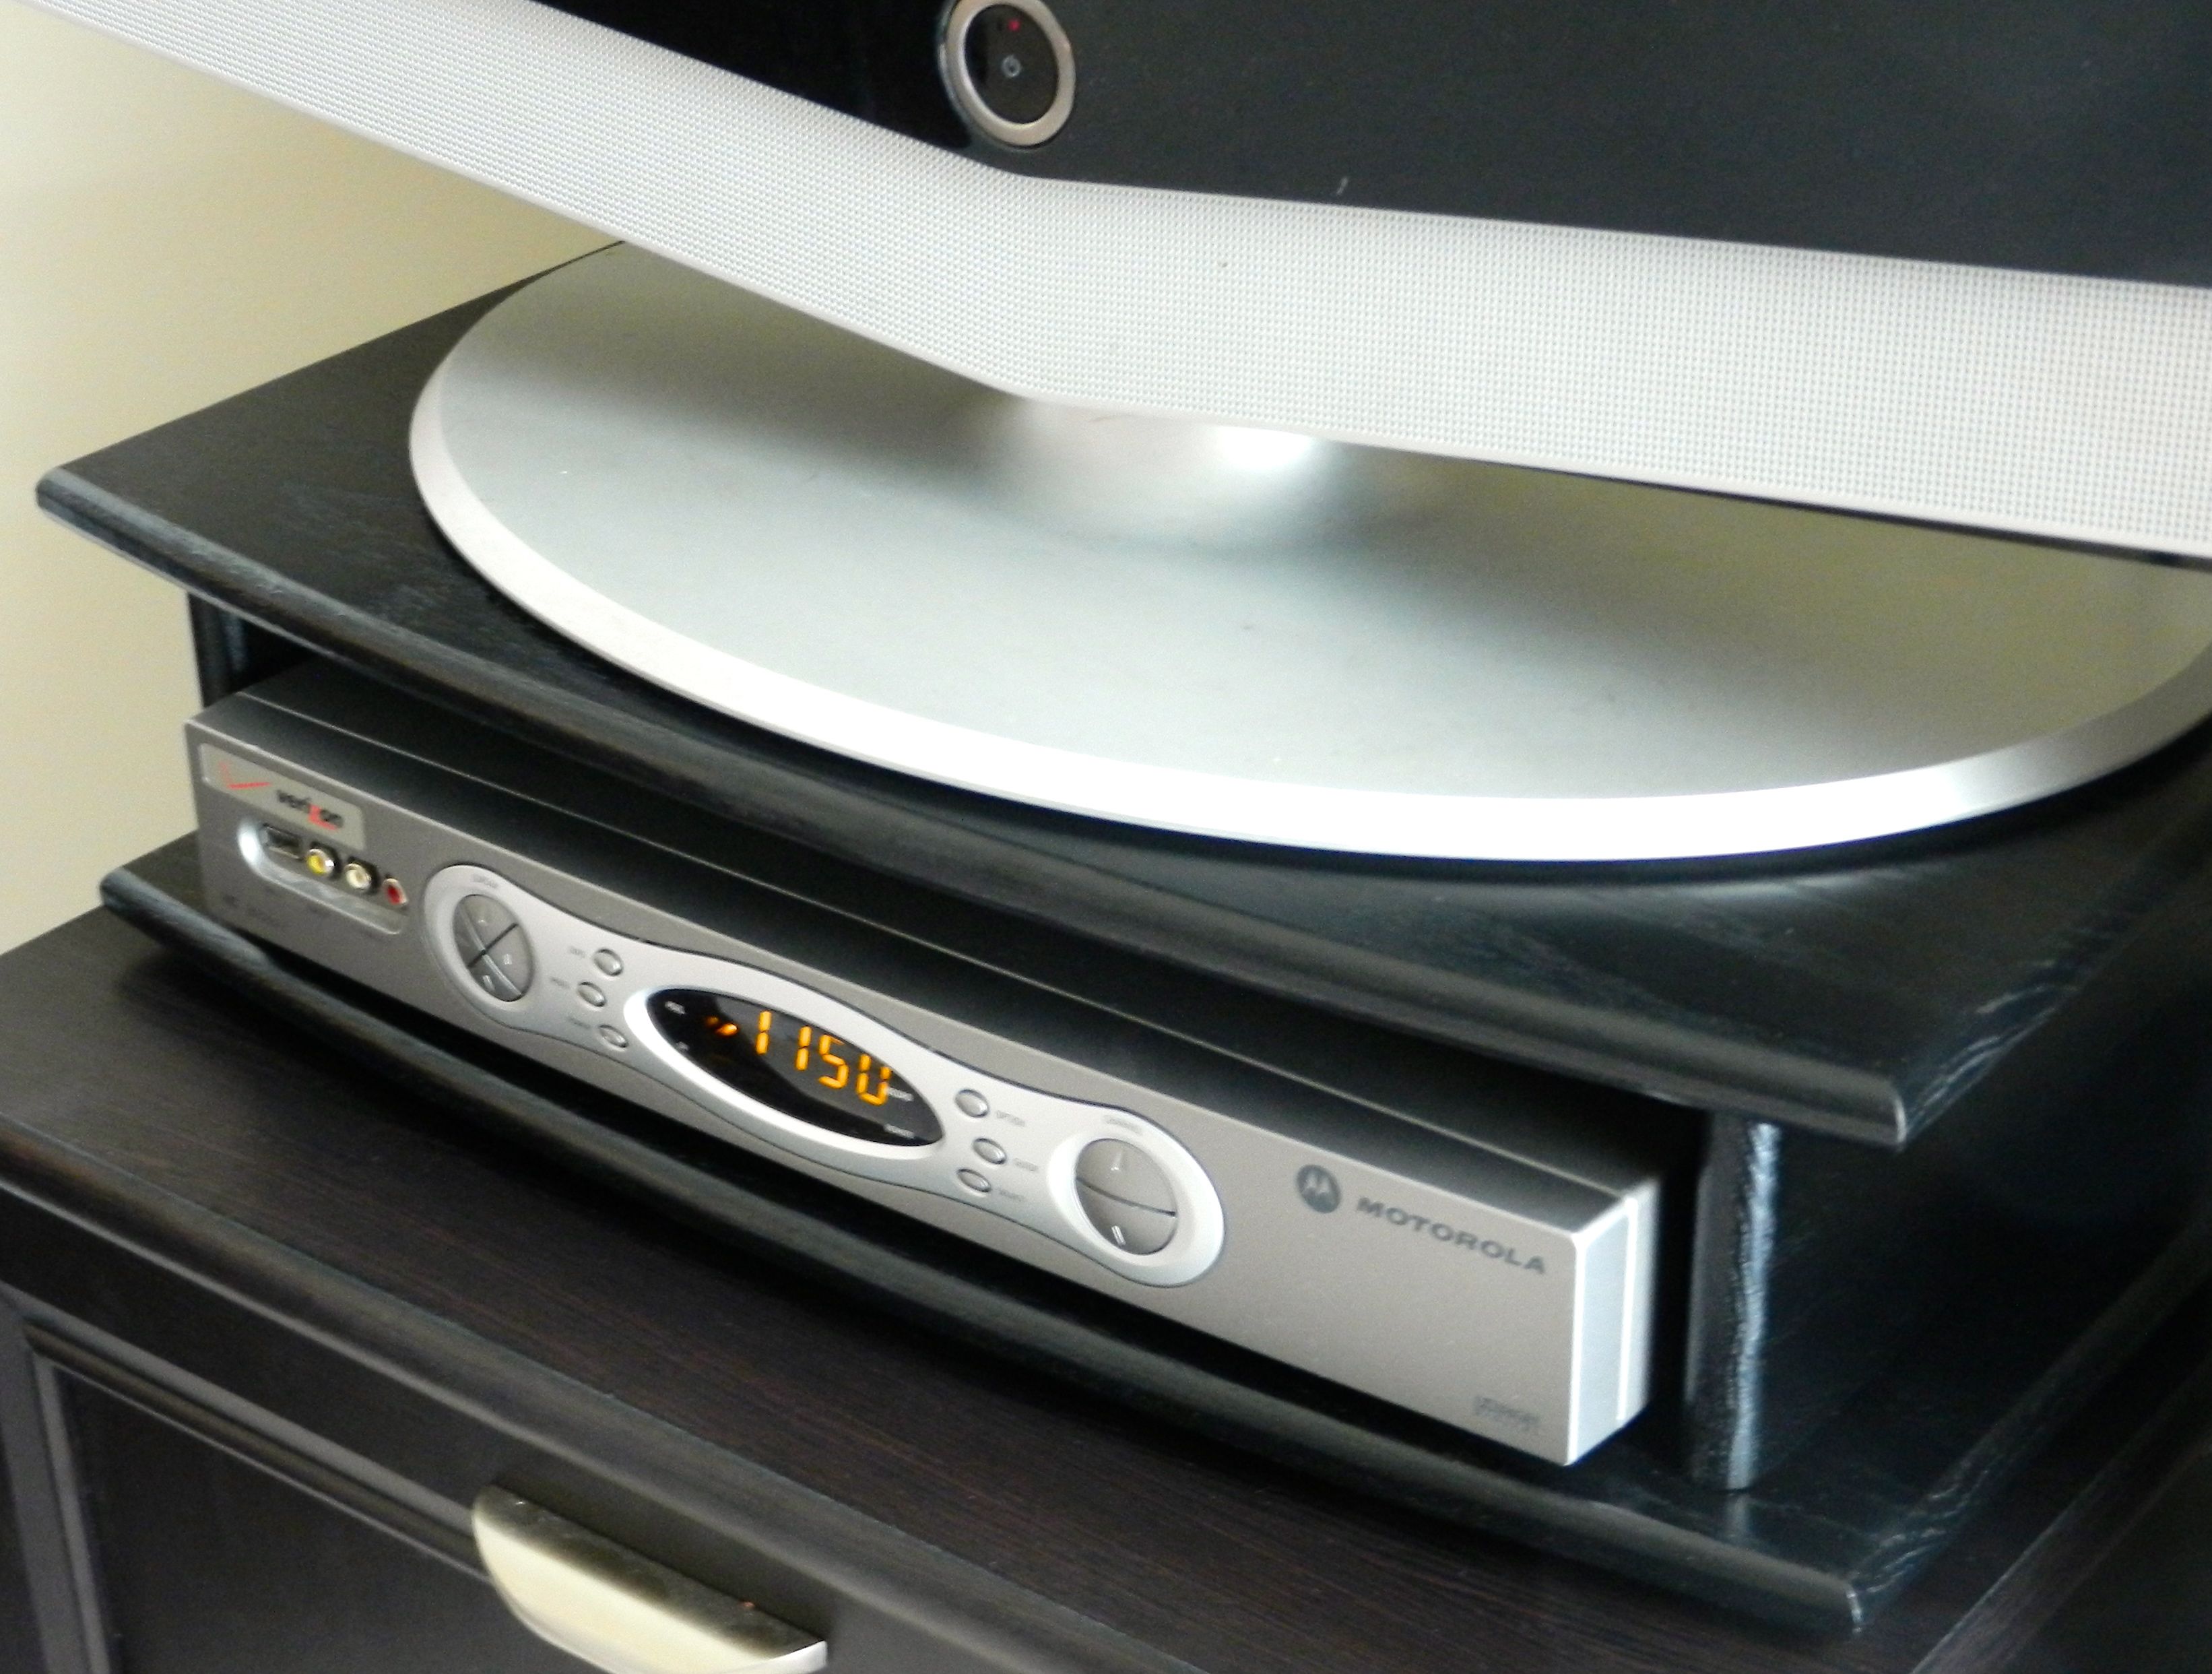
And here are some photos for your viewing pleasure.


Add Comment
You must be logged in to post a comment.