Some Changes Are On The Way
The Kraftsman has been very busy in the workshop and you will soon see why. In the very near future we will be updating and enhancing our woodworking plans and now also offering actual custom designed quality products made by The Kraftsman himself for local delivery in the North East Tri-State area. Included with the new products will be our famous tack trunk!
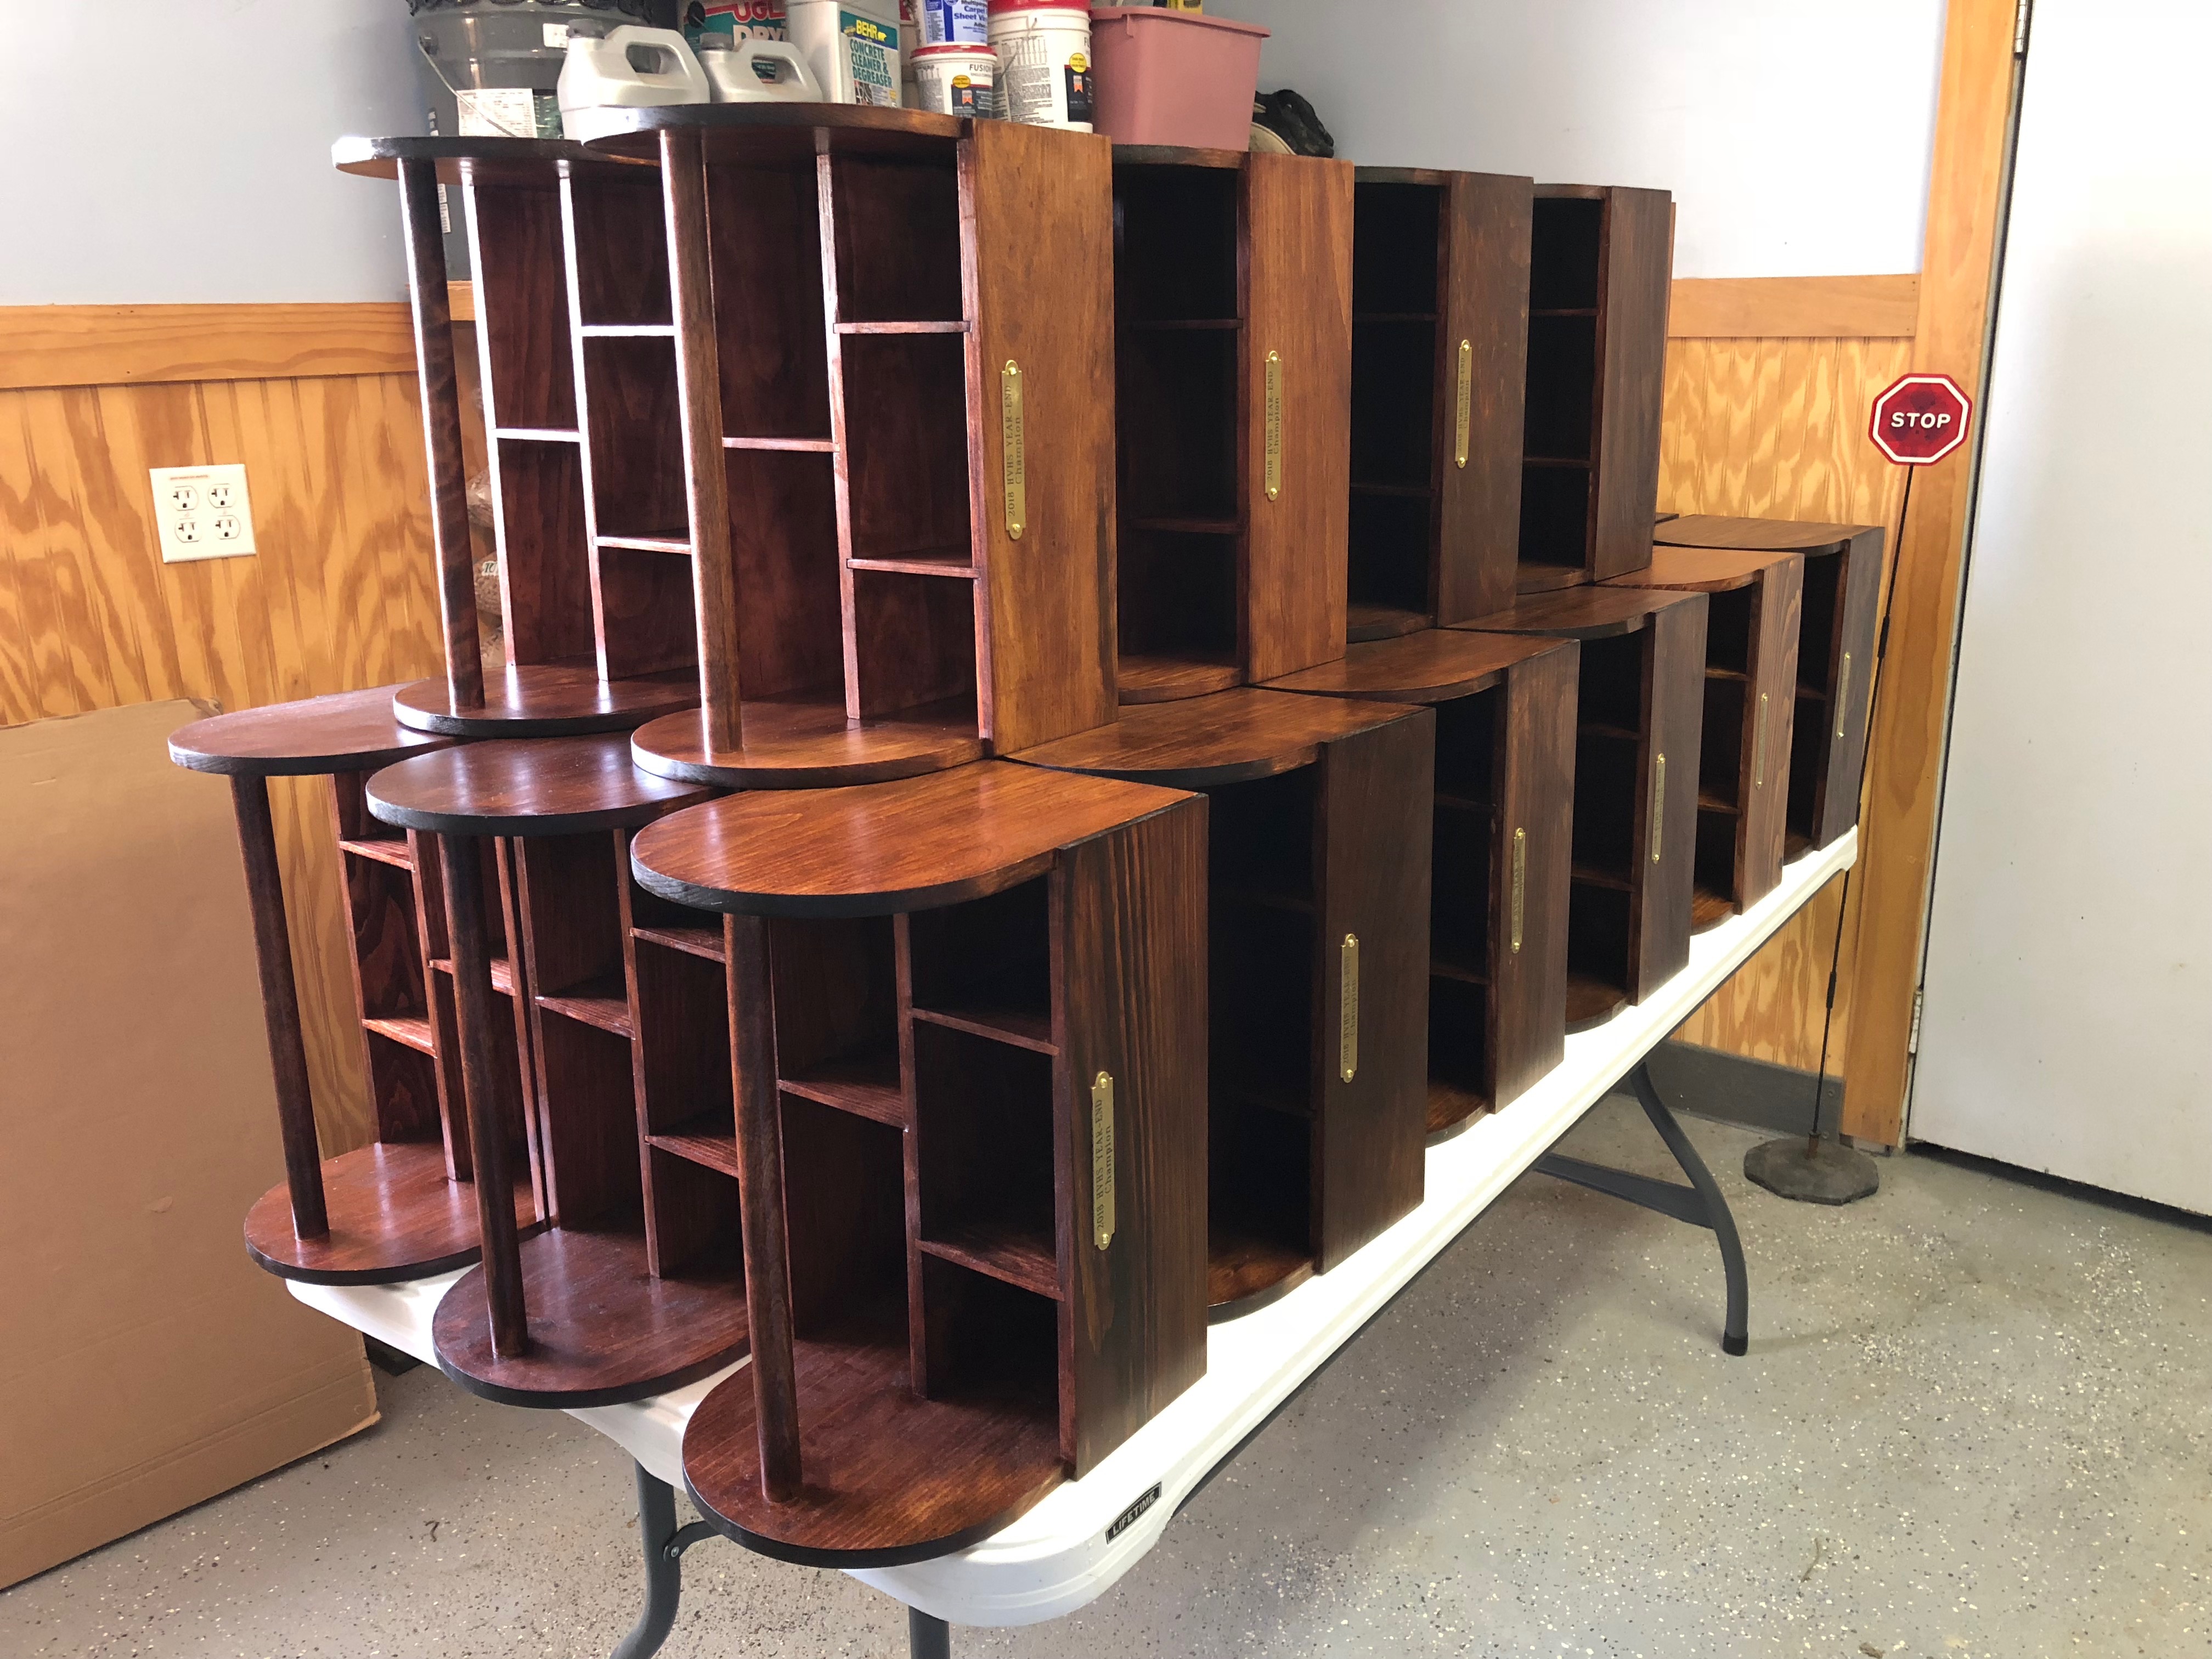
Very recently we built and delivered 29 of our grooming totes to be used as awards for a local horse show. This was a fun project and I’m sure the recipients will enjoy using their trophies daily in the barn!
Stay tuned for more information on our new products and upcoming shows!